

Hi Crafty Friends,
It's Els van de Burgt's birthday and what better way to celebrate but with a surprise Birthday Blog Hop with the Elizabeth Crafts Design Team! Happy Birthday Els!
We hope you will join us in making Els birthday a wonderful day, by dropping by our Elizabeth Craft Designs Family Facebook Group and wishing her a happy birthday.
The hop started at Elizabeth Craft Designs blog, so if you just happened to hop onto my blog you might like to head back to there first so you don't miss out on any of the fun!
Earlier in the year I created a couple of Star Effect Cards and I promised to create a tutorial on how to create them which I hadn't gotten around to do, So I decided to create another for today's blog hop so that I could finally do a tutorial for you all. You can see my previous two Star Effect Cards here.


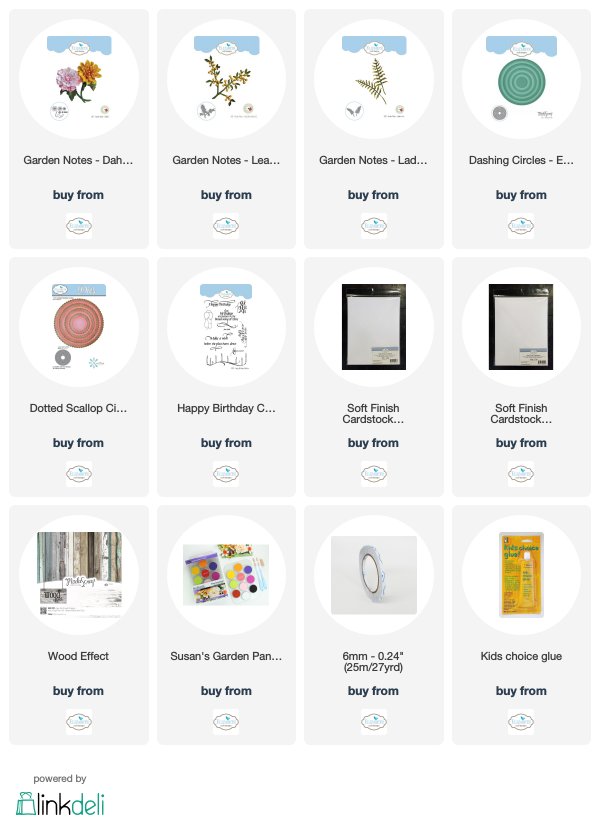
Before I get onto the tutorial I will explain what I used to decorate my card today. First up I used Garden Notes - Dahlia 2 to create my Dahlia flower, Susan Tierney-Cockburn shows how to make these on her Facebook Live Video here (you will find it about 14 mins into the video). I added a couple of ferns using the Garden Notes - Ladder Fern and also a couple of sprays of berries using the Garden Notes - Leafy Berry Branch 1.
The sentiment is from the A Way With Words - Happy Birthday Collection and is layered onto circles die cut using circles from both the Dashing Circles and Dotted Scallop Circles die sets.


Here is how to create the Star Effect Card:

Step 1 -
- Cut a piece of cardstock so it measures 6 inches x 5 inches in color of choice (brown used here)
- Cut a piece of patterned paper so it measures 5 3/4 inches x 4 3/4 inches of your choice (ModaScrap Wood Effect Patterned Paper Pack used here.

Step 2 -
- Using the cardstock piece, score along the long side at 3 inches.

Step 3 -
- Using a trimmer, line up the cardstock so that the point of the centre and the edge are lined up. Cut.
- Repeat on other side. Refer to photo above ... dotted lines are score lines, solid lines cut lines.

- You should now have three pieces of cardstock that looks like the photo above. The centre piece will be the base of your card.

Step 4 -
- Take the patterned paper and cut in half at 2 7/8 inches.
- On the first half of the patterned paper cut in half diagonally from the top right hand corner to the bottom left hand corner.
- For the second half of the patterned paper cut in half diagonally from the top left hand corner to the bottom right hand corner.
- Your paper should look like that above.
- Adhere the papers onto each of the triangle panels on the card and single triangle pieces.

Step 5 -
- Measure up the straight edge of the folded card base 2 inches on each side and mark with pencil.
- Measure from this point down 3/4 inches and mark with pencil.
- Cut from the 2 inch mark down to the 3/4 inch mark.
- Cut a thin sliver out of each slit you just created.

Step 6 -
- Lay one of the single triangle pieces over the other, referring to photo above and adhere together.

Step 7 -
- Place the attached cross triangle panel into the slits of the folded base card.
- Decorate as desired.
Well now it is time to leave my blog as you continue along our birthday hop. Your next stop is to the talented Karen Nofziger. Don’t forget to pop on over to our Elizabeth Craft Designs Family Facebook Group too to wish Els a happy birthday!
Here is the complete blog hop list if you need it.
- Elizabeth Craft Designs Blog
- Tanja Kabel
- Frances Byrne <you are here>
- Karen Nofziger
- Samantha Klaebe
- Christine Pooler
- Selma Stevenson
- EK Gorman
- Laura Gilhuly
- Luciana Telesca
- Ekaterina Oleynik
- Sandy Diller
- Marilyn Scheller
- Sara Torzullo
- Katelyn Grosart
- Emilia van den Heuvel
- Elena Anderson
- Kelly Booth
Supplies:
Elizabeth Craft Designs:
Other:
Brown Cardstock
Copic Markers
20 comments:
such a beautiful creation
I have got to try one of these. It is absolutely an amazing card design!!
Awesomecard
LOVE the card!
Frances this is fabulous. Your Dahlia is fantastic. Thanks for doing the tutorial.
your project is fabulous!! thank you for the tutorial, I will try it 😄❤
your project is fabulous!! Thank you for the tutorial, I will try it 😄❤
Love your star card and the flowers compliment the card beautifully.
This is so pretty Frances. The star is gorgeous and the flower is spectacular!
Love love your card Frances and that flower....yum!!!
Oh my that is totally awesome. Love the stand, love the flowers, love the idea!
What an awesome card Frances - love it and can't wait to try that tutorial thanks.
Always happy to see and learn something new! TFS!
How appropriate - a star for Els. Thank you for sharing your lovely birthday greeting. It is beautiful.
Fabulous! I really need to make one of these cards! Love them!
Love 3D projects.
I love your elegant card and design. I'll be copying the directions for this card. El will absolutely love this card. Thanks for sharing.
Beautiful floral design birthday card.
Fantastic card! Gorgeous floral display!
Very pretty card.
Post a Comment