Tuesday, April 2, 2024

April 2024 Karen Burniston Designer Challenge


Hi Crafty Friends, 

Welcome to our April Karen Burniston Designer Challenge.

Check out Karen Burniston's blog on Wednesday (US Time) when you will be able to see what all the designers created for the challenge this month, plus Karen will have an amazing video tutorial to share with us all.

Our challenge theme this month is ... "THIRST QUENCHER" - Create a project that incorporates a beverage. This could be coffee, tea, wine, beer, cocktail, mocktail, lemonade, etc. 


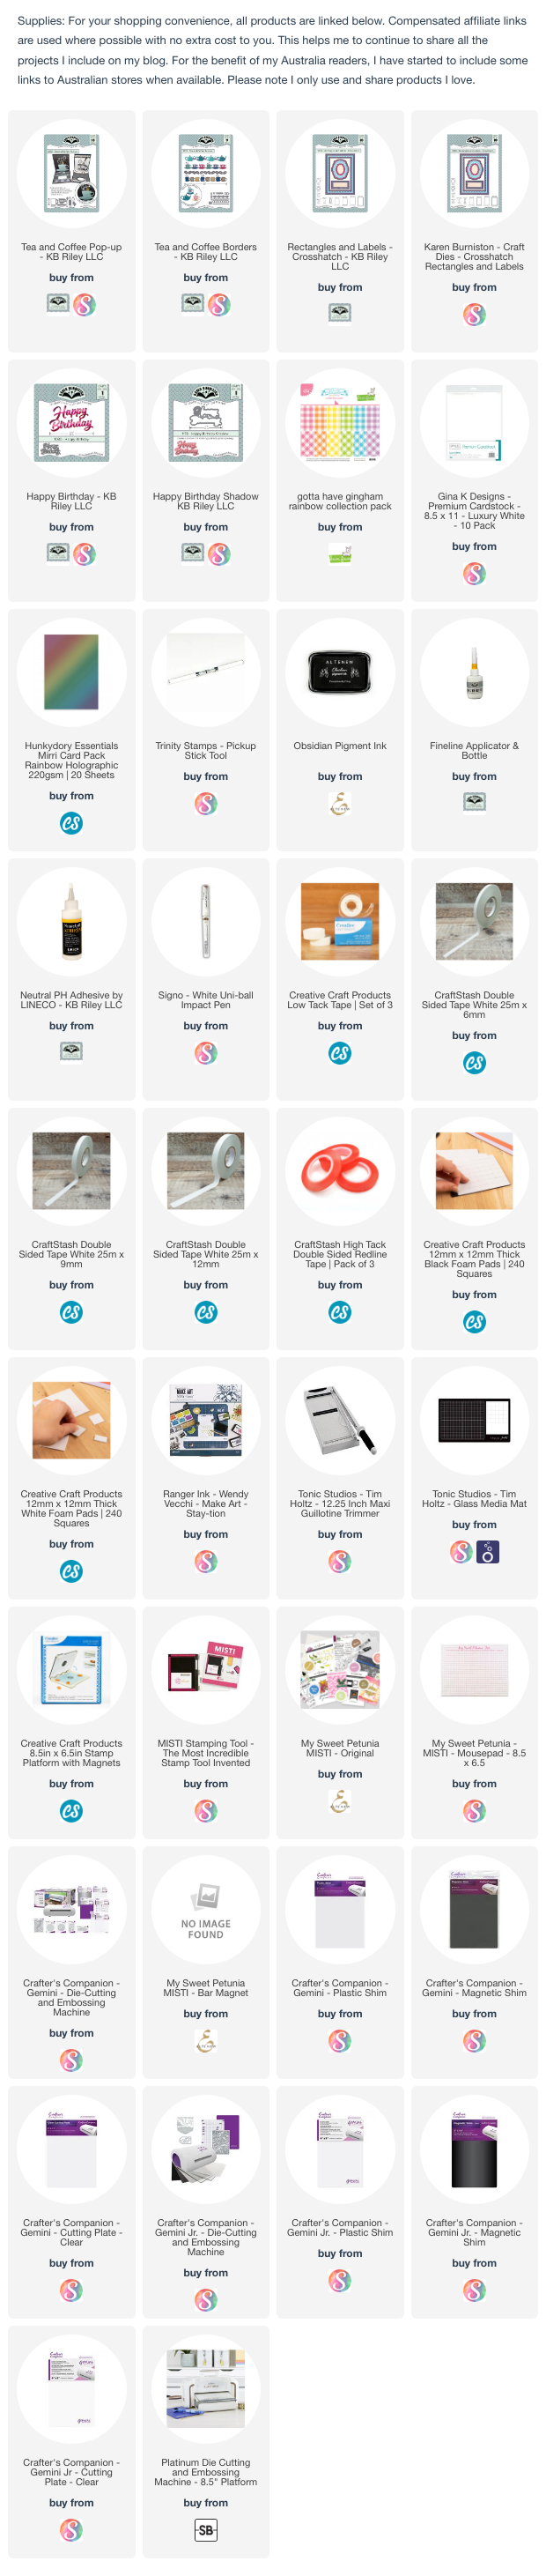
As you can see by my card above, I went with the tea theme. I used the new Tea and Coffee Pop-up die set along with the Tea and Coffee Borders die set to decorate my card.

For the scallop border panels, I used the scallop rectangle from the Rectangles and Labels Crosshatch die set, die cutting it from pink cardstock and then cutting it to the size I needed for this card. The label with the sentiment is also from this die set.


I love how the Tea and Coffee Pop-up die set includes the cup and saucer, tea bag, steam and spoon to make a fun tea themed card. Of course there is also a coffee mug included in this set too.


I kept the front of my card, fairly simple seeing the focus is on the inside of the card. I used the Rectangles and Labels Crosshatch die set for the layers.

I then added the Happy Birthday and Happy Birthday Shadow to the centre of the panel, before adding more of the borders from the Tea and Coffee Borders die set.


Friday, March 29, 2024

Rebus - Books Written by Nora Roberts

Hi Crafty Friends,


It's time to share another rebus puzzle swap with you! This month the theme is "Books Written by Nora Roberts"

If you would like to solve my rebus puzzle, why not post a comment on my blog post with your answers. I will let you know what the correct answers are next time I post a rebus card here.

How did you go solving my February Rebus which was "Movies Starting with the Letter A"

 Here are the correct answers so you can check how you did.

  1. American Pie
  2. Air Force One
  3. Anchorman
  4. Argo
  5. Agent Carter
  6. Ace In The Hole
  7. Age of Consent
  8. Awakenings


You can find all my past Rebus Cards here.


Friday, March 22, 2024

Happy Easter


Hi Crafty Friends,

Today I am sharing two Easter themed Never Ending Cards I created for my two grandchildren. I figured they would enjoy the movement involved in this style of card.

These cards using the new 5 x 7 Never Ending Cards die set from Made To Surprise by Sam Calcott's Never-Ending Cards Collection.

Here is a quick video to see my card in action.


I used pink cardstock for the card for my granddaughter, I used digital papers that I found from Etsy to decorate my cards.

In the past when I have made never ending cards I have used two layers of card, however many of the newer styles are one layer. Which is what this card is.


I left a blank panel so that I can write a personal greeting.


These photos show the order of how the card flips through the various levels, before coming back to the original page.


This is the last panel, before you flip back to the front. 


Here you can see the blue version that I made for my grandson. I used similar images on both, but one or two are different.


This is such a fun style of card.


I love these cute designs, which made quick work of creating these cards.


And one last photo of the blue card.


Thursday, March 21, 2024

Hoppy Birthday


Hi Crafty Friends,

Earlier in the week I shared a Never Ending Card using dies from Made To Surprise by Sam Calcott's Never-Ending Card Collection.

When Sam released the dies, she also shared cards that could be made using these dies that were Showstopper card styles. I love when dies can be used for cards other than the purpose they were designed for.


For this card I used the 6in x 6in Circle Never-Ending Card die set. You can find a tutorial on how to create this style of card if you have the die set here.

To decorate my card I used papers and stamps from the Showstoppers 3 Collection also from Made to Surprise.


I added a couple of panels to the back of the card, this is a place to add more sentiments and to write a personal sentiment.


There are a couple of different ways to fold this to place in an envelope. The photo above, shows one option. Folded this way the card is approximately 6 inches x 6 inches.


This second option of folding, makes the card 6 inches x 9 inches.


Friday, March 15, 2024

Dragonfly Slimline


 Hi Crafty Friends,

Today I am sharing a dragonfly themed Slimline Pop-up card I created recently.


I started this card with the front ... using the Creative Expressions Dragonfly Edger die set. I have had this die for some time now, and it was great to get it out to play. When I was figuring out what size card to make, I saw how easily it would fit on a slimline card. I did make my slimline 4 inches wide to give it plenty of room.

I die cut another dragonfly from white cardstock that had double sided adhesive tape on the front. I then covered the adhesive with Rose Copper Microfine Glitter from Elizabeth Craft Designs.

I added a sentiment to the lower right hand corner which is from My Creative Life's With Love Stamp set.


You can see how the wings of the dragonfly are raised from the card base.


For the inside of my card I created a pop-up card using Karen Burniston's Raising Platform Pop-up die set. I added a stamped Happy Birthday to the white label.

I decorated the inside of the card using small dragonflies, using Karen Burniston's Flutter Charms die set.


Tuesday, March 12, 2024

Big Birthday Wishes


Hi Crafty Friends,

I was recently asked to make a 40th birthday card by someone and as you can see I was happy to do so.

This gave me the opportunity to pull out one of the dies from Made To Surprise by Sam Calcott's Showstoppers 3 Collection ... the Double Concertina Gatefold die set.


I kept the front of the card fairly simple as the focus is on the inside. I added another of the circles to the front with a sentiment. I also added a butterfly from Text{ures}.


On the back of the card, I added a white panel and added another birthday sentiment. This also gives us a place to add a handwritten sentiment.


Monday, March 11, 2024

Feel Better Soon


Hi Crafty Friends,

Thanks for stopping by my blog, today I am sharing a get well card I created recently.

To create my card I used Heffy Doodle's Bed Heads stamp set, this is a super cute stamp set which has been sitting on my desk for some time ... I finally got around to using it. That's one of my aims for 2024, to use my stamps and dies I have previously purchased.


I created a Centre Step Card using Creative Craft Products High Centre Stepper Card die set.

I added the "Thinking of You" sentiment from Whimsy Stamps Slimline Heartbeats die set.


For the inside of the card I added a sentiment using Simon Says Stamp's Healing Hugs stamp set.

I also added the bed side table and some of the accessories included in the Heffy Doodles stamp set.


Thursday, March 7, 2024

Winged Butterflies


Hi Crafty Friends,

Thanks for dropping by my blog. Today I am sharing a Winged Pop Up Card I created using dies from Made to Surprise by Sam Calcott's Showstoppers 3 Collection. 


 The die used here is called 5in x 7in Showstoppers Winged Pop Up Card die set,  this die set can be used to make a number of different styles of card.


I made this style of card a year or two ago without dies, but I was pleased when I found out that I could use this die set to make them. It's always a lot easier and quicker with a die set and not having to measure.


As you can see by the photo above, this card has extra panels on the back of the card which gives it a winged effect.


Here is another photo of my card, showing the other winged panel.

To decorate my card, I used the butterfly die from Text{ures} and some of the gold foiled sentiment ephemera from the Papercraft Society Box 53.


Here is an overhead view of my card, so you can see the style of card a little better.


When you close the card, the "wings" fold back to create a 5 inch x 7 inch card. The card stays closed with the help of a belly band. I decorated the belly band using another of the butterflies and a gold foiled sentiment from the Papercraft Society Box 53.


Here is a look at the front of my card without the belly band.


Here is a view of the back of the card. I added layered panels to the two back side panels. I added two sentiments using Made To Surprise's Sentiment set from the Showstopper Collection. I gold embossed both sentiments. There is also space on this panels to add a personal greeting to the recipient.